Turn on BitLocker in Windows
To store ISO copies of distributions of various software products, we use external disks. With the advent of BitLocker technology, we decided to use the forced data encryption approach on any storage devices.
As you remember, BitLocker To Go is a new feature available in Windows 7,8,10.
For test encryption, we decided to use my drive. We needed to go to the BitLocker management page.It is located in This PC(My PC).
In the list of devices, you need to find your disk and click on the Turn On BitLocker link.
Related post : How to change the file type in Windows 10 without third-party…
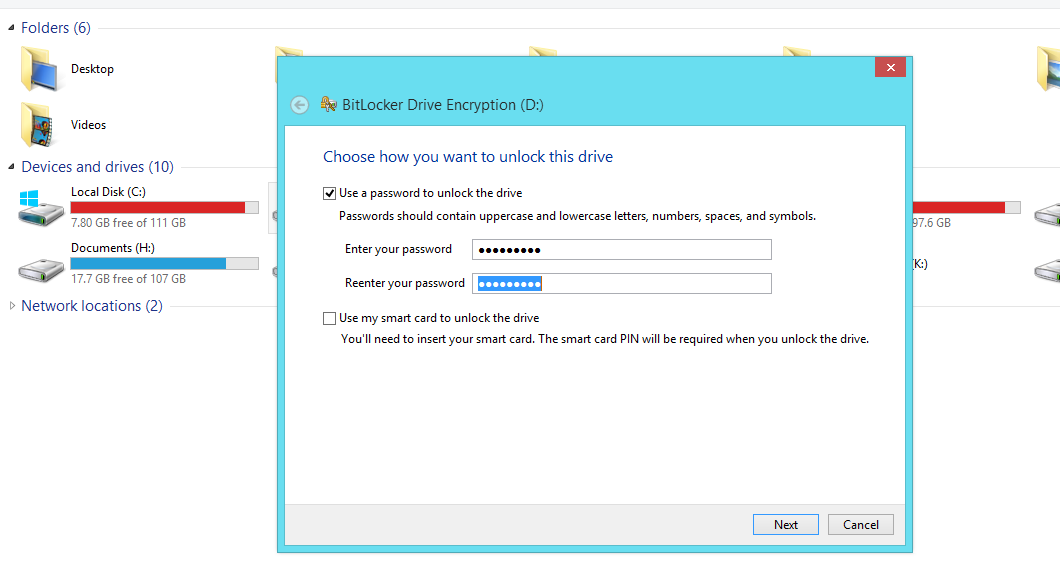
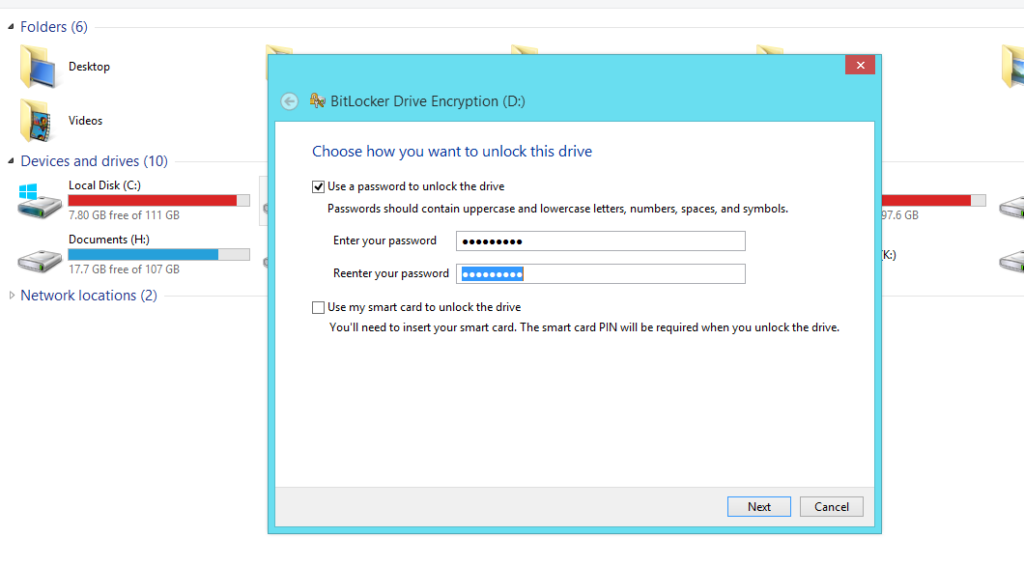
Next, I indicated the option – “specify a password”, with the aim of further connecting this hard disk to other PCs and laptops.
Related post : How to check the RAM for errors in Windows
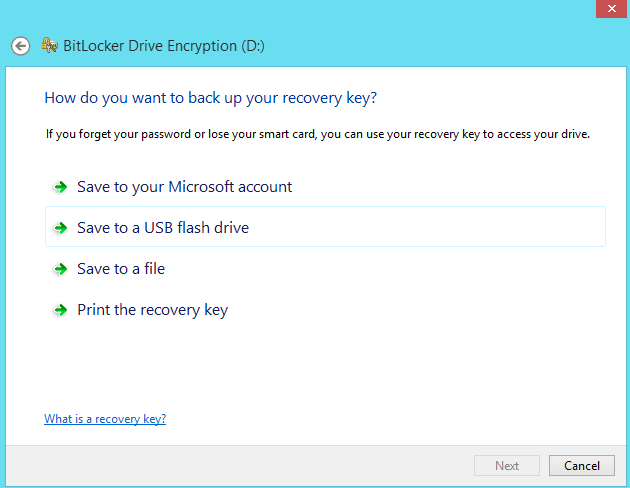
The recovery key was saved to a USB flash drive.
There is one important note: the contents of external media with BitLocker enabled is read-only on any host other than the one on which encryption was performed.
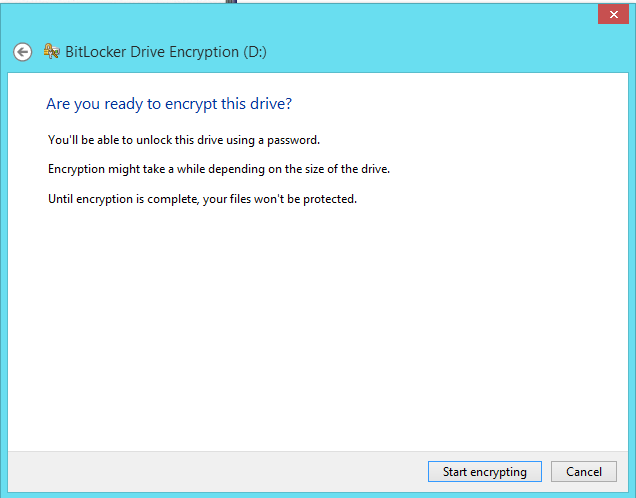
After clicking the next button, the following warning will appear: Are you ready to encrypr this drive?
Related post : Windows Volume Activation error code 0x8007232B
Related post : What process is using TCP port in Windows
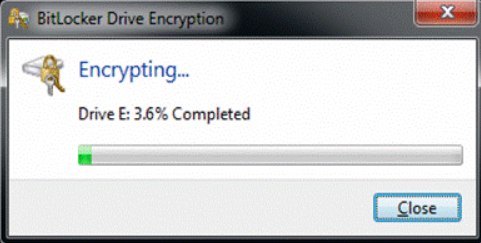
10 minutes after I clicked the Start Encrypting button, we still had the following window: Encrypting …
Related post : Windows Volume Activation error code 0x8007232B
Even if the interface connects your eSATA hard drive, the encryption process takes a fair amount of time. In our case (for a 500 GB disk), the entire encryption process lasted about 3-4 hours.
Now you can store any information on external hard drives without fear of risks of its loss or disclosure.
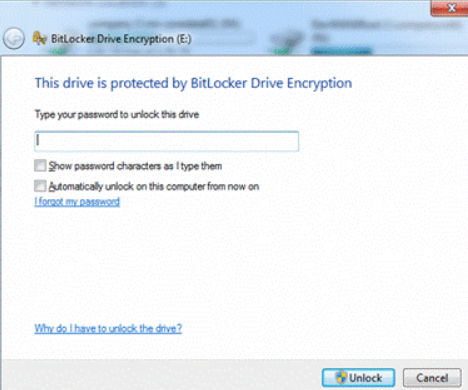
When you connect such a drive to another computer, you will be prompted to enter a password. Do not forget that using the option “Automatically unlock on this computer from now on” is quite risky.
See also : Enable, Disable Data Execution Prevention (DEP) in Windows 10/8/7
